In today’s WooCommerce tutorial, we’ll take a look at a few options for installing WooCommerce on your WordPress site and starting work on your new ecommerce project.
As you probably know, WooCommerce is a WordPress extension for creating online stores. This means that before you start, you need to have an active WordPress installation on your hosting account.
Installing Through The Storefront Theme
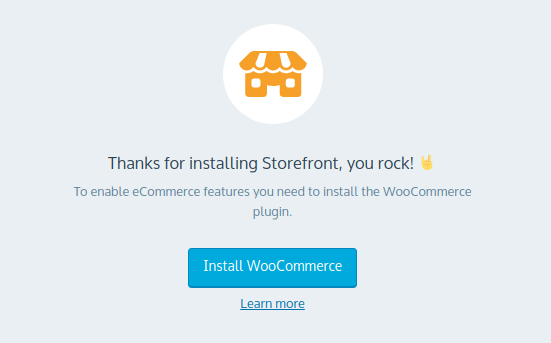
One of the options is to set up Storefront, one of the most popular WooCommerce templates, first. Upon completing the installation of Storefront, you will be presented with the following Thank You screen:

Conveniently enough, you can do a one-click WooCommerce install from there and start work on your ecommerce store immediately. You just need to hit the Install button and follow the few steps in the WooCommerce setup wizard.

Once the installation is complete, the button will change to Activate and refresh the page taking you to your new online shop.
Installing as a WordPress Plugin
If you’re not using Storefront, you can install WooCommerce directly from the official plugin repository, just as you would set up any other WordPress plugin:
1. Open the WordPress dashboard and navigate to Plugins → Add New from the main menu
2. Use the search field on the right; click on it and type WooCommerce

3. Your first search result should be the WooCommerce plugin. Click the Install button in the top-right corner.

4. Note that WooCommerce is almost as big as WordPress, so the installation will need a few moments to complete.

5. Once the setup has finished, the button text will turn to Activate. Press the button to complete the installation process.

6. You are now redirected to the online store configuration, where you get to set and configure a few WooCommerce settings.


