Before we continue setting up taxes, shipping, and payments, let’s take a moment to add some products to your new store.
In order to be properly set up, Taxes and Shipping require that your store already has some products in it.
That’s why you have Sample Products.
Sample products are a great way to test your store and configure its functionalities before adding your actual inventory. They are also a quick way to preview the features of your website theme.
To run the WooCommerce Products Importer:
1. Go to Tools → Import
2. Locate the WooCommerce products (CSV) at the bottom of the list with importers
3. Click the Run Importer link below the title of the importer
Alternatively, you can do that by visiting the Products screen and clicking the purple Import button.
Note: After adding products, the Products screen is changed to display the products, and the Import button will become available at the top of the screen.

Now, to begin importing products, you need a file with their data. Files with sample products are present within the WooCommerce plugin folder. If you have the plugin.zip file downloaded on your computer, just unzip it to a folder and navigate to the sample-data folder located within.
The file you need is sample_products.csv.
In case you don’t already have the archive — there is another route you can take:
1. Follow this link to the sample-data folder, located in the public WooCommerce code repository on GitHub: github.com/woocommerce/woocommerce/tree/master/sample-data
2. The web page is basically a file browser. You will see a list of 3 files.
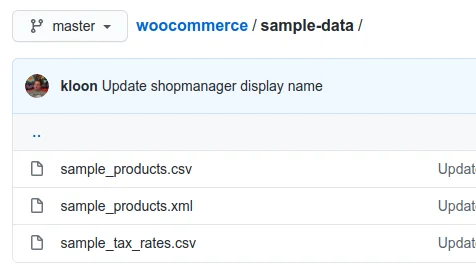
3. Click on “sample_products.csv.”
4. This will load another list, this time filled with values. Locate the Raw button right above the Description column.
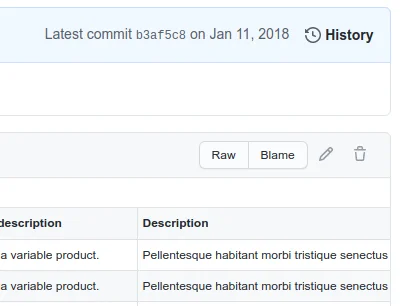
5. Click on the file and brace yourself — the file contents might just look like a comma-separated nightmare.
But that’s okay.

6. Save the file to your hard drive, best with Ctrl+S for Windows and ⌘+S for Mac.
7. Now, head back to the Import Products screen in the WordPress admin and upload the file.
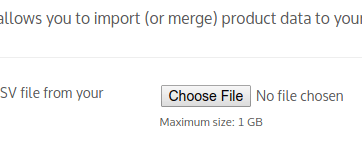
8. Once you have selected the sample_products.csv file from your computer, click the purple Continue button.
9. You’re now at the Column Mapping screen. This assigns columns of data from your CSV file and maps them to their counterparts in your website database. It’s an advanced tool that works automatically 98% of the time, so it’s best that we just scroll through the page and click Run The Importer.
10. Allow a few moments for everything to be created.

11. When the import process completes, you should see something like this:
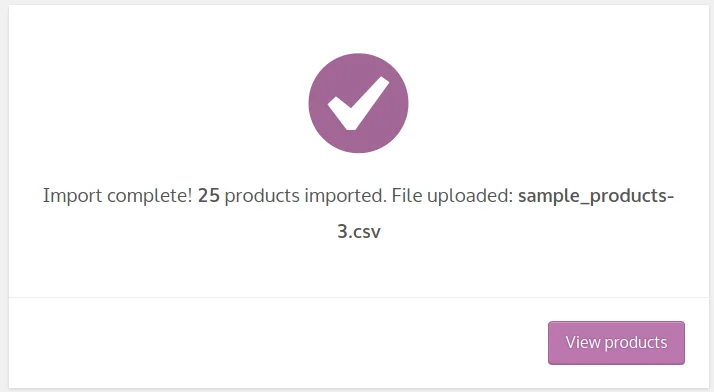
12. Press the View Products button to see your sample products inventory.


