The Process of Adding New Servers
We wanted to post some more details about how we add new servers along with pictures so that our clients can see and feel the process. It will also help current and prospective clients become more confident in our services by having a closer eye on our daily work.
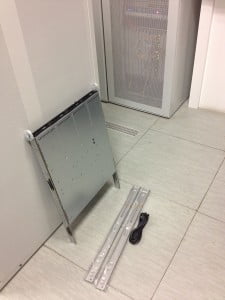
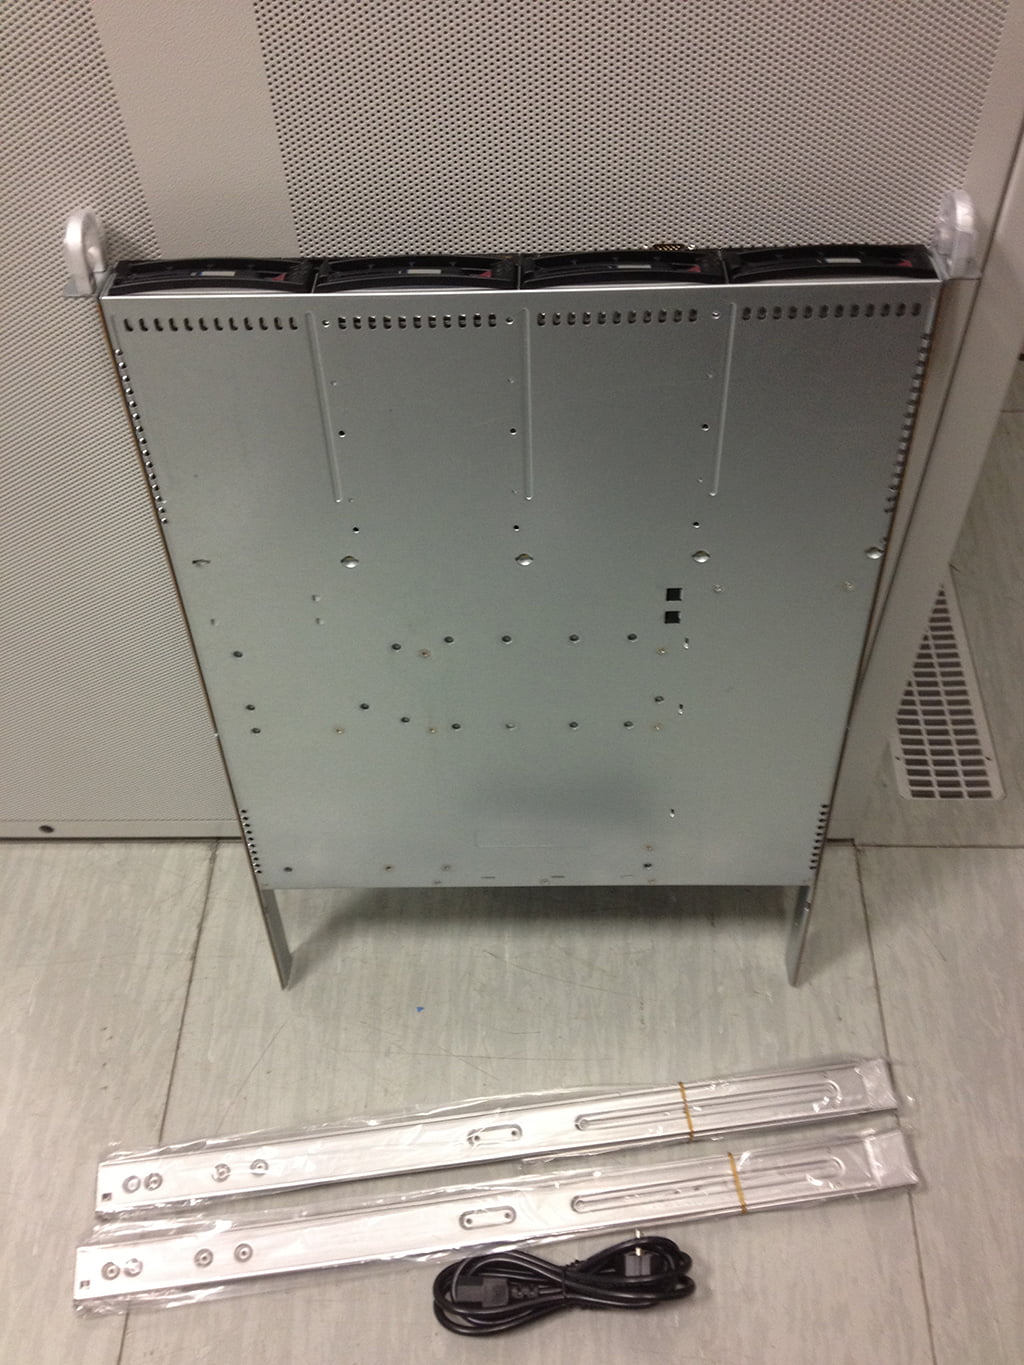
Let’s start with two pictures of how the new server looks before it gets added to the cabinet so that the OS can be installed. You can see the server on the pictures along with the power cable and the rails which are used so that the server can be mounted in the cabinet.
Once the rails are unpacked and mounted in the cabinet they look like this.
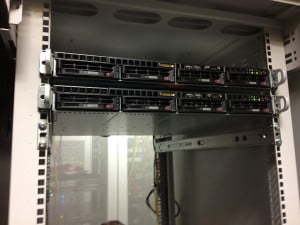
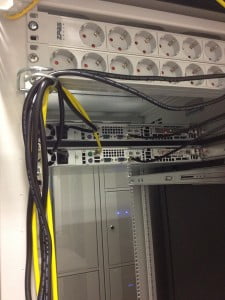
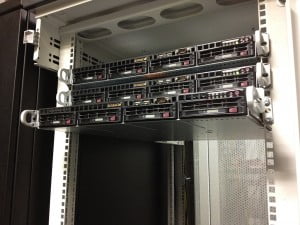
We have the rails mounted in the cabinet so it’s time to add the server. Once added it looks like shown below on the pictures.
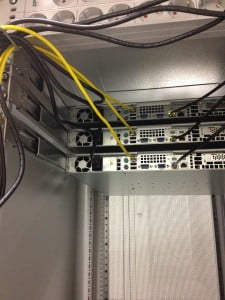
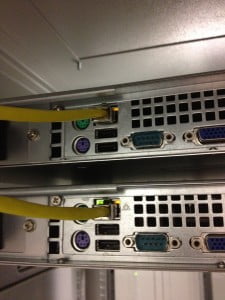
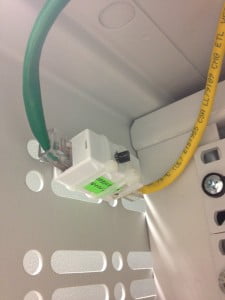
All our servers have IPMI interfaces with dedicated LAN cables so that we can reboot them instantly, access the console or reinstall the server. It is a very useful tool which we use to monitor our servers hardware, temperature and health. We also have temperature monitoring in each cabinet which we access remotely and we always know what is the temperature in the cabinet to avoid any potential overheat.
That makes the server ready for operating system installation and setup. Once that is completed we can start providing services to customers on that server and make them feel happy they chose Scala Hosting for their business.
