Most server owners rely on SSH access to remotely access their machines and execute commands. It gives them full control over their servers and helps them manage their projects.
But what is SSH exactly? How do you enable it for your hosting account? And how can you access your remote servers securely using it?
This article guides you on everything you’d need to know on SSH Access.
Let’s take a look.
What Is SSH Access?
SSH, also known as secured shell, is a communication protocol that allows two computers to communicate securely over an open network, such as the internet.
Unlike other similar protocols, SSH uses end-to-end encryption to ensure that the communication is protected from eavesdropping.
It supports password- and key-based authentication, and behind the scenes, it uses complex encryption mechanisms to guarantee that the connection is secure.
SSH helps server owners:
- Manage, control and modify systems and applications remotely
- Run commands managing files, folders, and databases
- Create secured tunnels for other application protocols and run sessions remotely
Secure Shell refers to both the cryptographic network protocol and the suite of utilities that implement the protocol.
And how would you enable this protocol for hosting accounts?
Let’s take a look.
How to Enable SSH Access
ScalaHosting;s customers can use SSH by default on their shared hosting accounts. Self-managed VPS owners get full root access to manage their servers, and if you use a Managed SPanel VPS, you can choose which accounts are allowed to open a secure shell. Here’s how to do it.
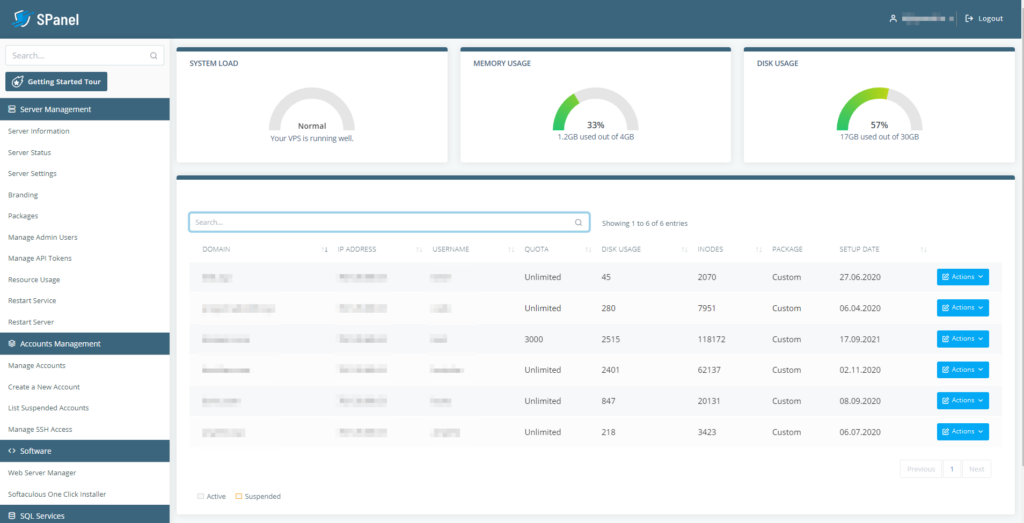
Log in to your SPanel Admin Interface. This is where you manage all SPanel user accounts.

SPanel redirects you to the control panel dashboard after a successful login.

Click ‘Manage SSH Access’ under Account Management from the navigation bar.

On the next page, locate the account you want to modify and use the toggle switch to enable SSH access.

That’s it — SPanel takes care of the rest.
Note: Use SSH port 6543 or the port SPanel shows on your dashboard to establish an SSH connection and authenticate your account’s username and password.
And how do you establish an SSH connection to your remote server?
Here’s how.
How to Connect to Your Server Via SSH
With SSH access enabled, you can log into your server and manage your account.
Here’s what you need to do.
Windows
Windows now supports SSH access via its built-in command shells – PowerShell and Command Prompt. If you decide to use them, you can establish an SSH connection with the following command.
ssh [your username]@[your domain name]
If you’re using one of our managed VPS solutions, you’ll need to add -p6543 to the command to ensure the correct port is used.
The server will ask for your password, and after you provide it, it will open the SSH session.
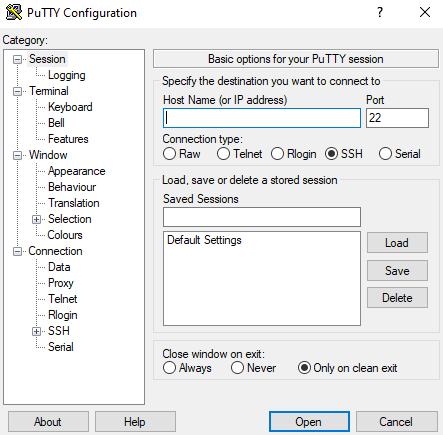
An alternative is to use a dedicated SSH client like PuTTY. After you install and run it, you’ll see the following screen:

You need to make sure you enter the right information in the hostname and port fields before clicking Open.
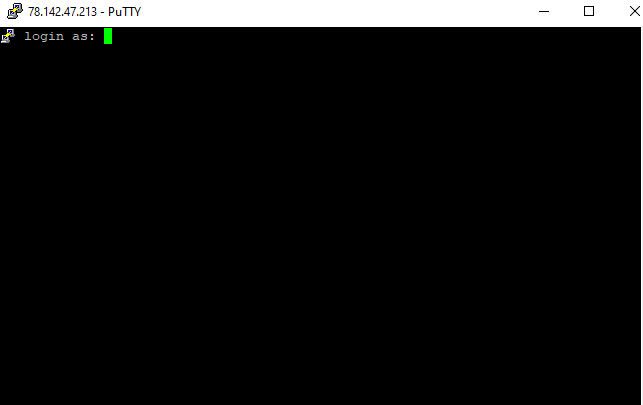
PuTTY will ask your for your SPanel account’s login credentials before opening an SSH session.

Linux and macOS
Linux and macOS also support SSH out of the box.
To open a secure shell, launch the Terminal and enter the following command.
ssh [your username]@[your domain]
If you’re using an SPanel VPS, make sure you add -p6543 to the command to ensure you use the correct port.