The MX record helps you specify the incoming mail server that’ll receive your email messages. It helps users prepare for mail server failures. You could use the record to designate their backup servers, enabling SMTP servers to route emails through them when the default server fails.
Businesses relying on emails for mission-critical processes often use the MX record to instruct SMTP servers to share their email loads between their incoming servers to avoid overwhelming the primary server.
With an MX record, you can host your emails with another host while hosting your domain with your current host, meaning you can use emails with domains hosted somewhere else.
How do you edit your MX record after adding one to your DNS zone file?
This article makes it effortless – let’s get to it.
Step 1: Sign in to Your SPanel Account
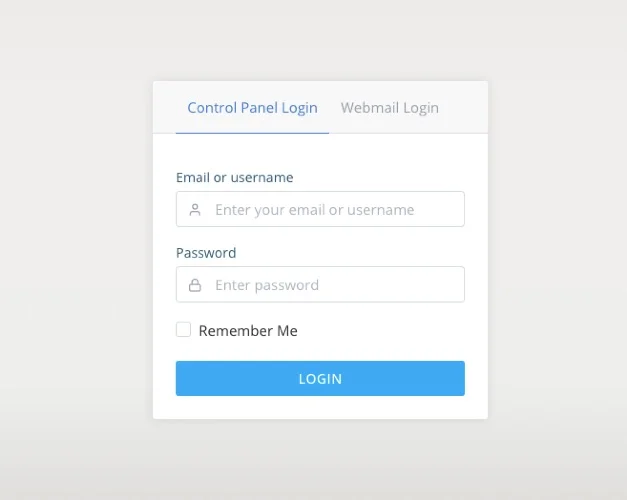
Log in to your SPanel account control panel.
Use the URL www.yourdomain.com/spanel/login and replace yourdomain.com with your domain name.

Step 2: Open the DNS Manager
On the control panel, scroll to DOMAINS and click DNS editor.

Step 3: Edit your MX Record
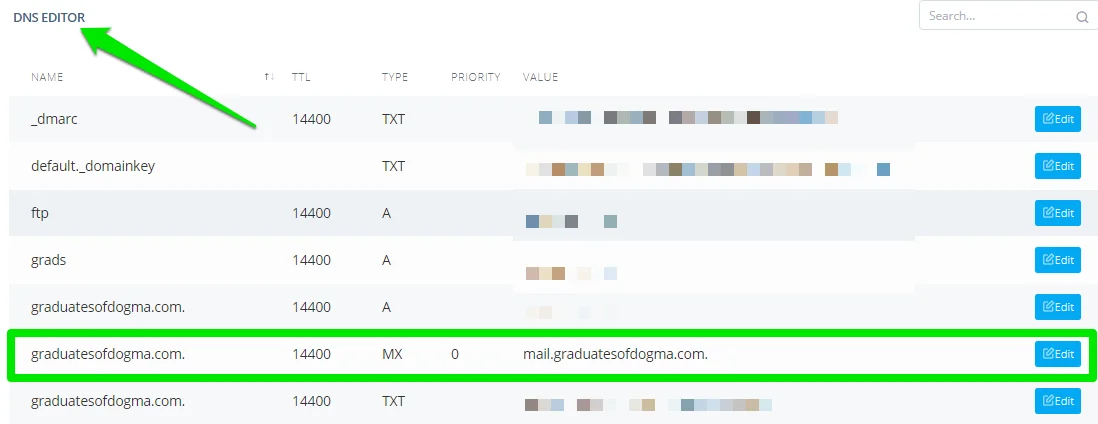
You’ll see a list of all your DNS records under the DNS EDITOR section. Locate the MX record you wish to modify.

Click the Edit button, make your changes and click Save to apply.

Click the Delete button if you wish to remove the record permanently from your DNS zone.
That’s it.
If you need assistance regarding editing your MX record on SPanel, kindly contact our support on email, phone and live chat, and we’ll be happy to help.
