A single mistake or a crash can undo months or even years of hard work invested in your website. To help you avoid disasters of this kind, ScalaHosting automatically backs up your data and gives you full control over the restoration process.
All our shared and managed VPS accounts get daily backups and full control over how they restore them. For maximum security, your backups are stored on a remote server, and you can access them whenever you want.
Backing up and restoring data manually is also possible on both cPanel and SPanel accounts.
Let’s see how you can do it exactly.
Backing Up Your Website Files Manually
If you have a cPanel account, you can learn everything you need to know about backing up and restoring data from this article. SPanel users can follow the steps below.
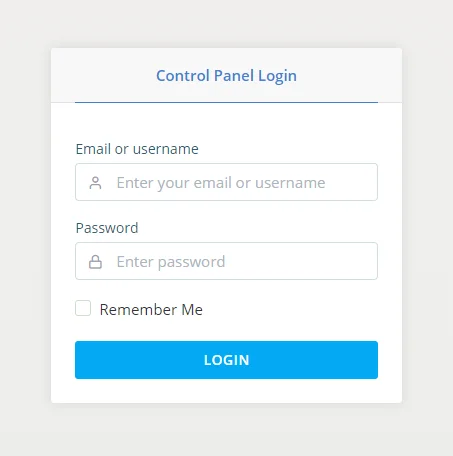
Step 1: Log Into SPanel’s User Interface
The default login URL is https://youdomain.com/spanel (don’t forget to replace yourdomain.com with your actual domain).
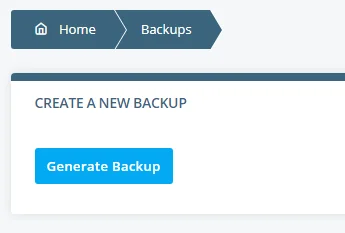
Step 2: Open the Backup Tool and Click Generate Backup
Scroll to the FILES section and click Backup.

The Generate Backup button gives you a few options to choose from.
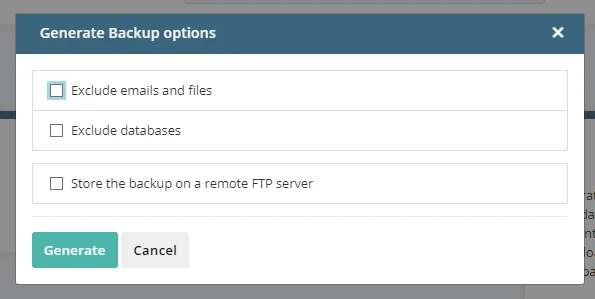
Step 3: Select Your Backup Options and Click Generate.
SPanel lets you configure your backup. If you select the Exclude emails and files checkbox, SPanel will create safe copies of your databases only. The Exclude databases option means that your backup will contain files only.
From this popup, you can also send your backup directly to a remote server. All you need to do is provide the FTP details.
If you decide to keep your backup on your hosting server, it will be saved in your account’s home directory.
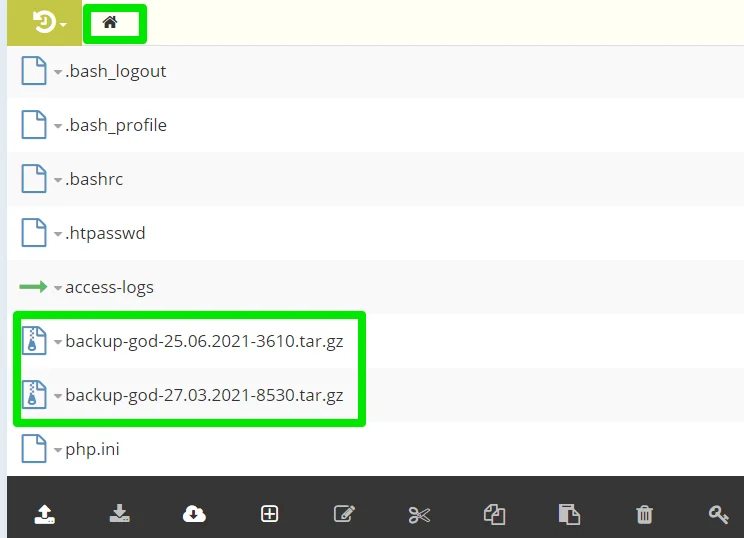
You can use an FTP client or SPanel’s File Manager to download it.
Restoring Your Backup Files
ScalaHosting automatically saves your data backups on a remote backup server. To restore your data from an automatic backup, log into SPanel’s User Interface, scroll to the FILES section and click Restore backup.

Select your data restore point.

Use the Browse Files option to restore files and directories from your remote server or the Browse Databases button to restore any database.
Let’s examine how to restore your backups using the options.
Restoring Files and Directories
To restore a specific file or directory, click the Browse Files button and select the folders or files you wish to restore.
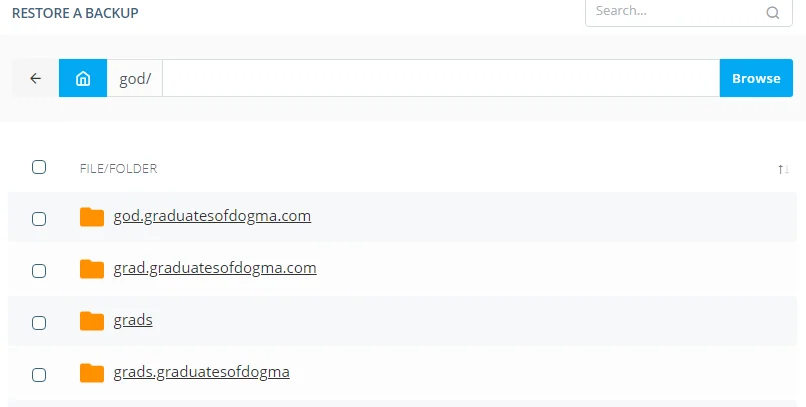
If you intend to restore the entire website, then select the domain’s root folder, but if it’s just a file or a group of files, then open the folder and select the file(s).
When you select all the files you wish to restore, click the Restore Selected button to initiate the process.
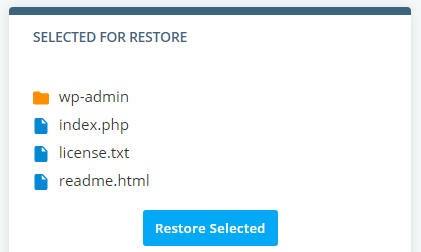
Now, wait patiently as our system restores your files, and do note that the process runtime depends on the size of your backed up files.
Restoring Databases
To restore your backed-up database, click the Browse Databases button next to the restore point of your choice. You’ll see a list of all the databases backed up on the selected date. Next to each one of them, there’s a Restore drop-down that gives you three options:
- Download – SPanel automatically exports your database into an SQL file and lets you save it to your computer.
- Original database – SPanel saves the database under its original name. Any changes that have been made to it since your selected restore point will be overwritten.
- New database – SPanel saves the backed up database under a new name. You can configure your website to work with it without running the risk of irreversible data loss.
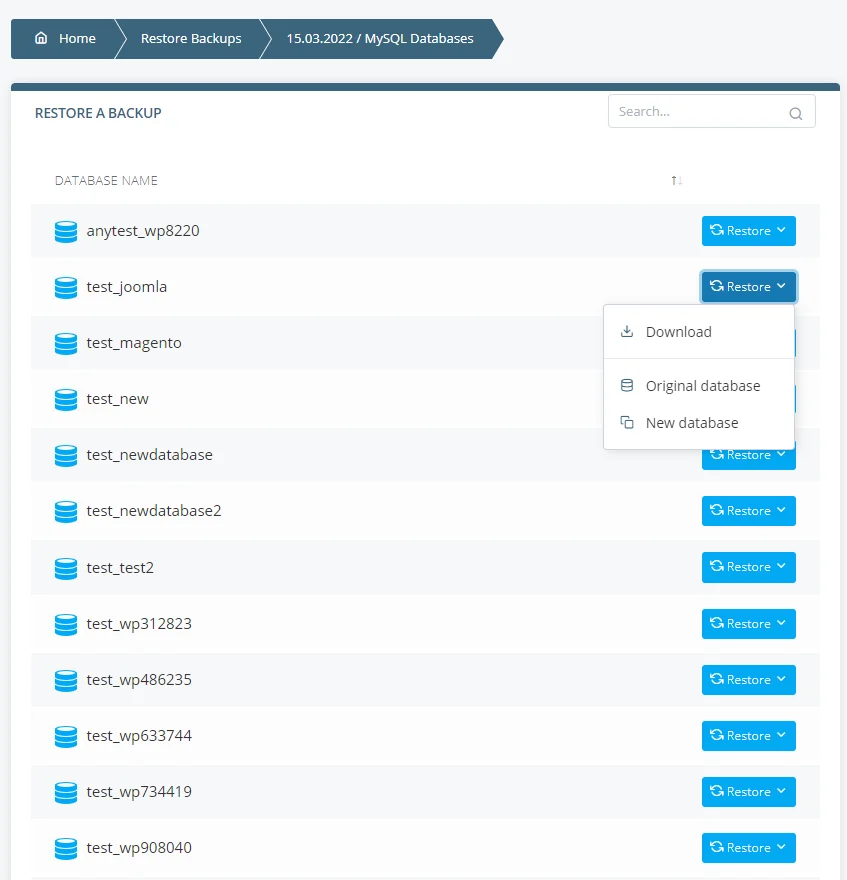
Select the option you need and confirm your choice to complete the process.
Need Support?
If you have questions relating to backing up your website or restoring backup files or databases, kindly contact our support, and we’ll be available to help.
