In the Domain Name System (DNS), an A Record points a domain or a subdomain to a known IP address, whereas a CNAME points to another domain but not an IP address.
You should use a CNAME record when you want to:
- Point an old domain name to a new domain name. For instance, from mydomain.com to mydomain.org.
- Map a subdomain to the parent domain hosting that subdomain’s content. Make sure there are no other DNS records with that name.
This article will walk you through the process of creating a new A and CNAME record on SPanel.
Step by Step Guide to Create an A Record in SPanel
Step 1: Sign in to Your SPanel Account
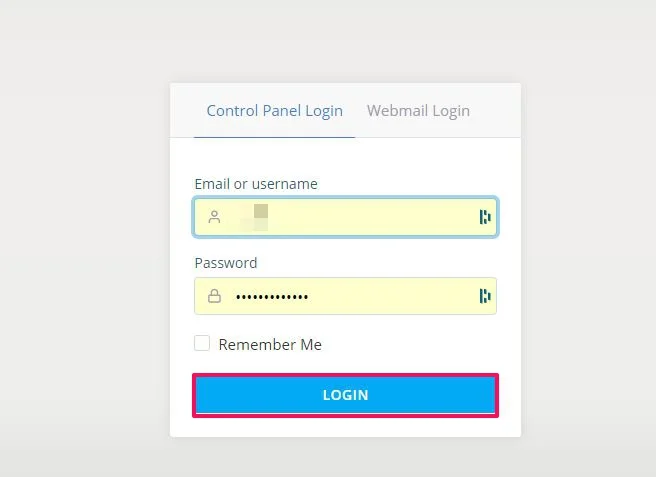
The first step is to log in to your SPanel dashboard using this URL – mydomain.com/spanel/login, where “mydomain” means your domain name.
Enter your username or registered email and password, then click Login.
Step 2: Navigate to Domains
The next page is your SPanel admin dashboard. Head over to Domains, and click the DNS Editor.

This DNS Editor enables you to add, modify or delete existing DNS records of any of your domains.
Step 3: Add the New A Record
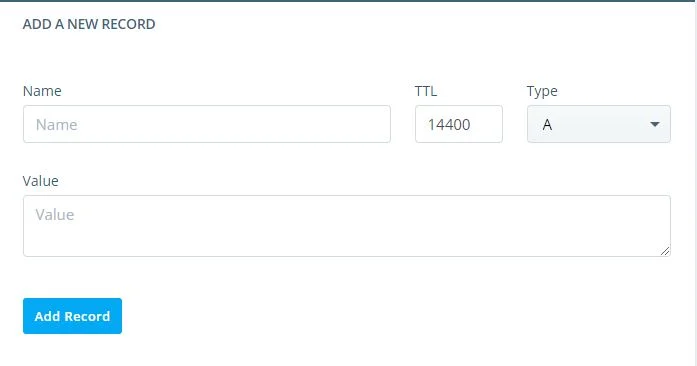
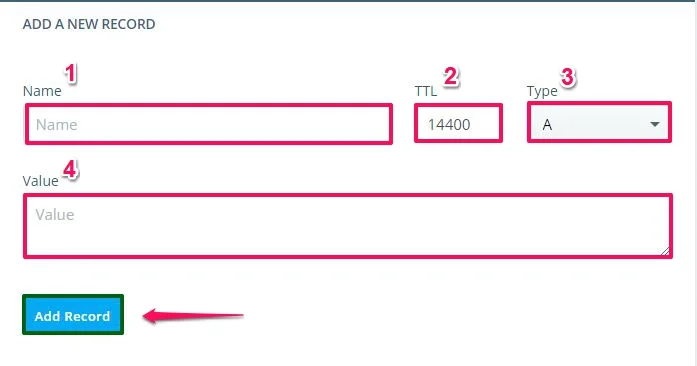
Under Add a New Record, fill in these parameters correctly :

- Name: Enter the preferred name you want to use for the DNS record
- TTL: This stands for time to live and represents how long to keep a DNS record in seconds. We recommend you leave the default value on SPanel (14400) if you’re not sure what to put.
- Type: Set the Type parameter to “A.”
- Value: Put in the IP Address you want to point the A Record to.
When you’ve filled in the correct values, click Add Record to save the new A record.
And that’s how you create a New A Record for your domain. Now, let’s explore the steps to create a new CNAME Record.
Step by Step Guide to Create a CNAME Record in SPanel
Step 1: Sign in to SPanel’s User Interface
You can control your domain’s DNS zones through SPanel’s User Interface, so that’s where you need to start.

Step 2: Navigate to Domains
On your SPanel dashboard, go to Domains and click the DNS Editor.

This DNS Editor allows you to update or delete existing DNS records for any of your domains.
Step 3: Add the New CNAME Record
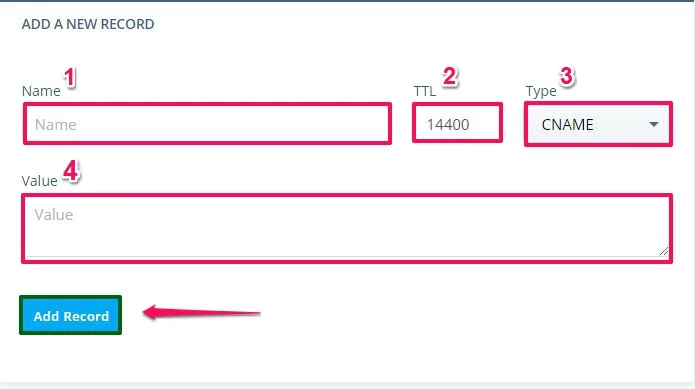
As with the A Record; under “Add a New Record,” fill in these parameters correctly:

- Name: Put in the preferred name you want to use for the CNAME DNS record.
- TTL: Enter a time to live value. You should leave the default value on SPanel (14400) if you’re unsure what to put.
- Type: Set the Type parameter to “CNAME.”
- Value: Enter the domain name you want to point the CNAME Record to.
After you fill in the correct values, click Add Record to save the new CNAME record. The new CNAME record joins the list of DNS records on that page.
How to Edit Existing A and CNAME Records?
If you have multiple domains linked to your hosting account, you can also modify or update their A and CNAME records in the DNS editor as well. Here’s how.
Go to the list of available DNS records down the page and hop over to the DNS Record you want to edit. Click on the blue Edit button on the right, and modify the value as you wish.
 When you’re done, click Save, and that’s it.
Need Help?
Please reach out to our technical support team to help you with any issues you might encounter with creating new CNAME and A records on your SPanel.