With over nine thousand themes in the official WordPress repository and countless others available on third-party websites, it’s safe to say that you’re somewhat spoiled for choice when it comes to picking a design for your WP project.
Sometimes, however, website owners find out that off-the-shelf themes can’t give them the appearance they’re after. If you find yourself in a similar position, you’ll want to take an existing theme and add some custom code to it. However, before you do that, you’ll need to create a child theme.
Let’s see what this means.
What Is a Parent Theme?
We’ll start by clearing up some of the principal concepts behind WordPress themes. First, we’ll look at parent themes.
Any standard WordPress theme can be a parent theme, regardless of whether you download it from the official repository or from a third-party website. Here’s how it works.
A WordPress theme itself is a collection of files that determine your website’s look. Every theme has its own directory inside the /wp-content/themes subfolder of your site’s document root. A database entry tells WordPress which of these folders belongs to the active theme, so the content management system knows which CSS stylesheets, PHP, JavaScript, and media files it needs to use to render the site’s appearance. If you want to modify the design to your specific needs, you’ll need to add your custom code to these files.
The thing is, WordPress themes receive regular updates, which you must install as soon as they’re available. In addition to bringing new features that improve your website’s user experience, these updates also carry vulnerability patches critical to your site’s security.
When you update a theme, you effectively download new versions of the theme’s files, overwriting the old ones in the process. In other words, if you update a theme you’ve customized, all your work will be lost.
What is a Child Theme?
A child theme works in tandem with the parent theme to allow you to keep your custom code without preventing you from installing critical updates.
In some ways, it acts as a standalone theme in that it has its own folder inside the /wp-content/themes directory and is available on the Appearance > Themes page inside the WordPress dashboard.
However, instead of containing all the templates that determine your site’s look and functionality, it only holds your custom design elements. In fact, if your modifications are limited to the site’s typography, your child theme will consist of two files only.
WordPress will read the custom code from these files, and for the rest of your site’s look, it will fall back to the parent theme.
You can update the parent theme whenever there’s a new version without touching the child theme and losing your custom look.
How to Create a Child Theme
There are a couple of ways of setting up a child theme folder – manually or with a plugin.
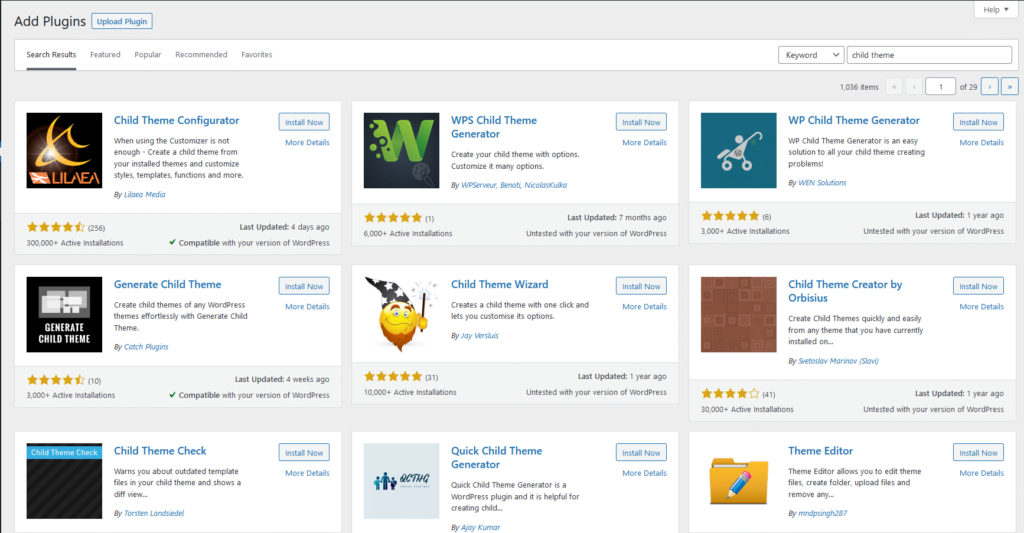
Obviously, the second method is preferred by less experienced users. There’s certainly no shortage of options. The “child theme” term returns quite a few search results in the WordPress official plugin repository, with each add-on offering a broad range of options and features.

The steps you’ll need to take to set up a child theme via a plugin depend on the plugin itself. However, it’s fair to say that you’re unlikely to run into any serious problems. Most plugin vendors try to make their products’ interface as intuitive as possible, and there are often quite a few tooltips telling you what each of the buttons does. In some cases, you can rely on technical support from the plugin developer, as well.
The manual creation of a child theme is a bit more complex. However, it could help you better understand how themes work in general, which, in turn, could be useful later when you’re customizing your website’s look.
If you’re doing it for the first time, using a staging environment or a test installation might not be a bad call. You’re unlikely to do any serious damage to the site, but you can never be too careful. What’s more, you’ll want to make sure everything works before pushing the changes to production.
To manually set up a new child theme in WordPress, you need to create a new folder and set up a couple of files. Those comfortable working with the command-line can use SSH, though most people will prefer doing it via the control panel’s file manager. For our example, we’ll create a child theme of Twenty Twenty-Two – the default WordPress theme at the time of writing. Let’s see the exact steps:
1. Navigate to /wp-content/themes and set up the child theme’s new folder
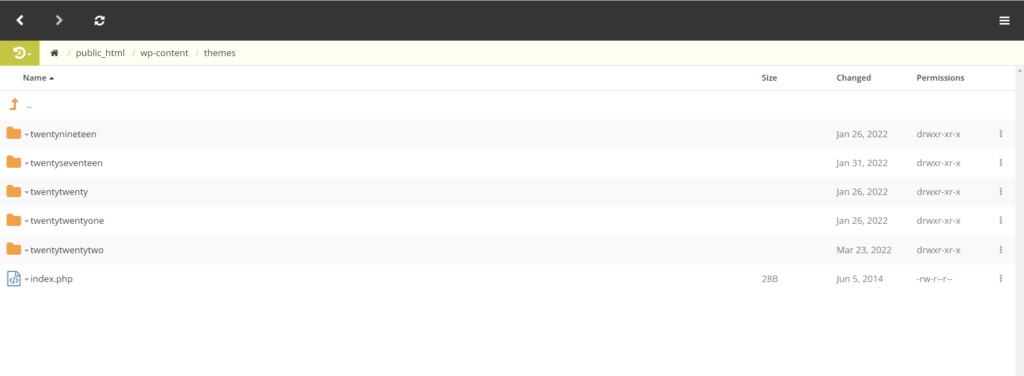
If your site is on your account’s main domain, its document root folder should be public_html (unless you’ve changed it yourself). Open it, and go to wp-content/themes. You’ll see the folders of the themes currently installed on your website.

To set up a new one, you’ll need to create a folder for it. Although you can use a random name, it’s considered best practice to append “–child” to the name of the parent theme. In our case, we’ll name the folder “twentytwentytwo-child.”

2. Set up a stylesheet – style.css
The child theme’s main stylesheet, style.css, usually carries the bulk of the customizations. Using your File Manager, you can create it straight on the server via New > New File.

3. Enqueue your stylesheet
In addition to containing your custom typography, the style.css file also points WordPress to the parent theme. You need a couple of main lines in the style.css file to set up a child theme – theme name and template. Here’s what it should look like:
/*
Theme Name: Twenty Twenty-Two
Template: [the name of the parent theme]
*/

NOTE: You need the name of the parent theme’s folder in wp-content/themes, not the name you see in the WP dashboard.
Don’t forget to add /* at the beginning and */ at the end of this section.
If you want, you can add additional information. If you’re distributing the theme, for example, you can enter the author, the version, some contact details, etc.
Save and close the file when you’re done.
4. Create a functions.php file
If you look inside the WP dashboard, you’ll see that the child theme is already listed on the Appearance > Themes page. What you need to do now is connect it to the parent theme. To do that, you need to create a second file called functions.php in the child theme folder.

5. Connect the child theme to the parent one
Open the functions.php file and paste the code you see below.
<?php
add_action( ‘wp_enqueue_scripts’, ‘enqueue_parent_styles’ );
function enqueue_parent_styles() {
wp_enqueue_style( ‘parent-style’, get_template_directory_uri().’/style.css’ );
}
?>
The code above means that the child theme inherits the parent theme’s style and functionality while also retaining the customizations you add to it.
6. Activate the theme
Finally, it’s time to go back to the WP dashboard and activate the new child theme from the Appearance > Themes page.