Backups are an essential part of the management of your hosting account. As a platform for controlling all aspects of your hosting service, cPanel has an excellent backup functionality that helps you generate and save a copy of your data quickly and easily. Let’s see how it works.
Generating a Full cPanel Backup
cPanel has quite a few backup options. The one we’ll be looking at today can generate a full backup of your hosting account, including:
- the files in the home directory
- the databases
- the email accounts, forwarders, filters
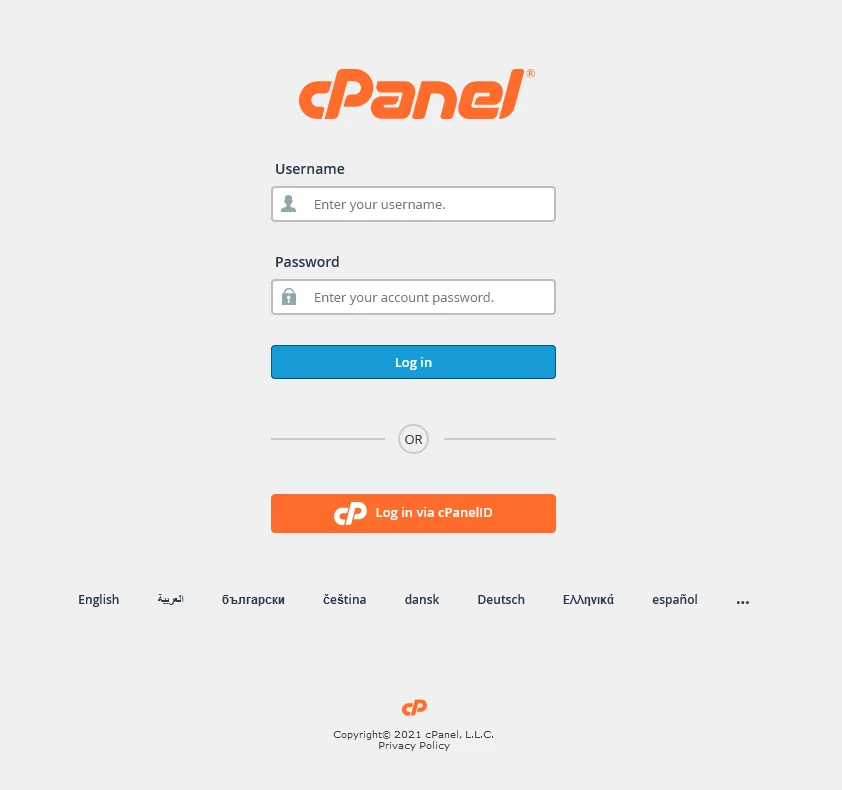
To do that, you first need to log into cPanel. The login URL is usually https://yourdomain.com/cpanel. If the domain isn’t pointed to the hosting server, you will be able to get more information on how to log in from the welcome email.
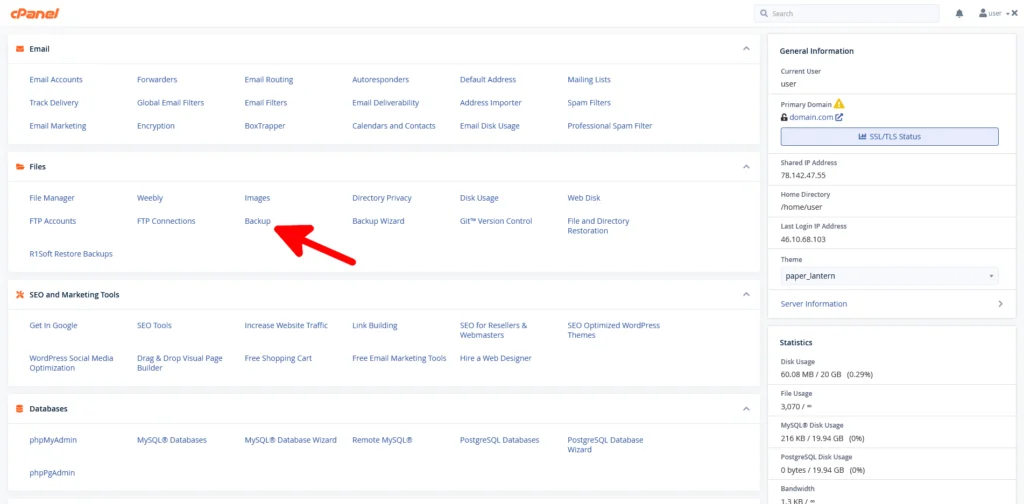
To access the full backup feature, click on the Backup button on cPanel’s homepage.
You have a few different partial backup options, including backups of your home directory, your databases, and your email forwarders and filters. However, the button you’re interested in is Download a Full Account Backup.
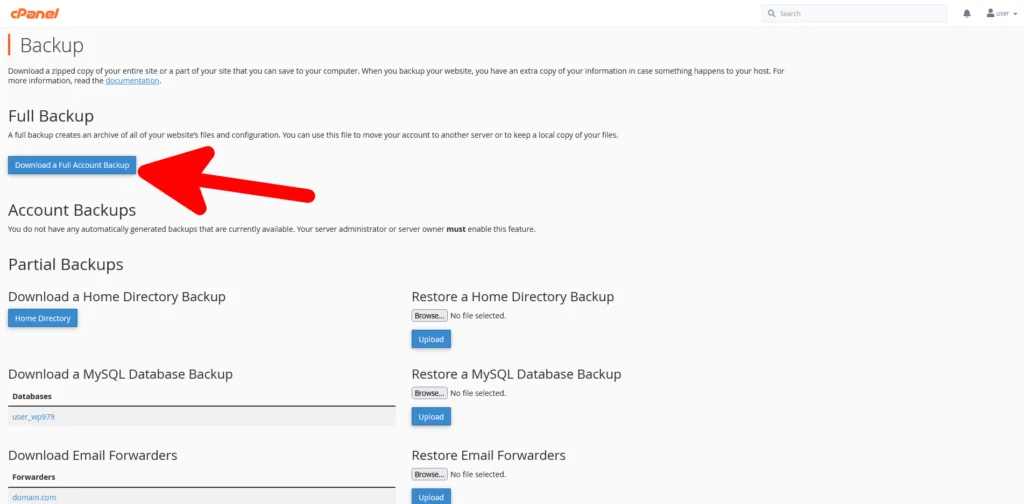
cPanel puts all the data in a compressed file with a .tar.gz extension.
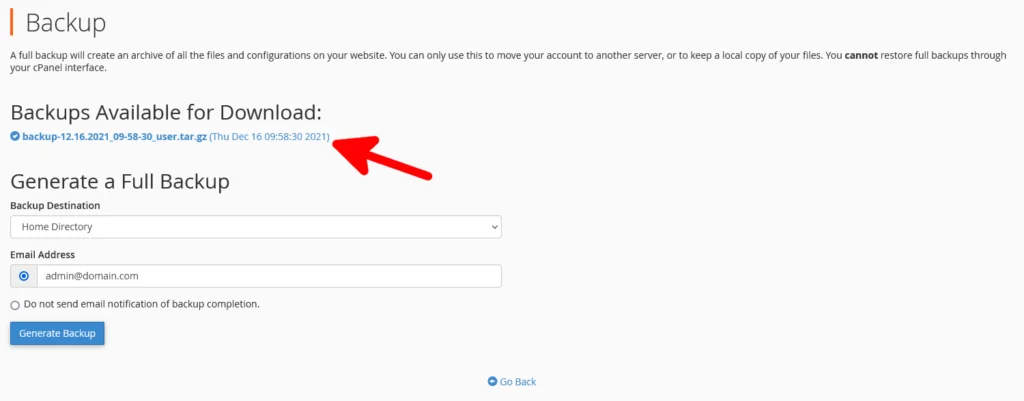
Backing up all the data on larger cPanel accounts may take a while, so you have the option of receiving a notification of backup completion. All you need to do is enter your email in the Email Address field.
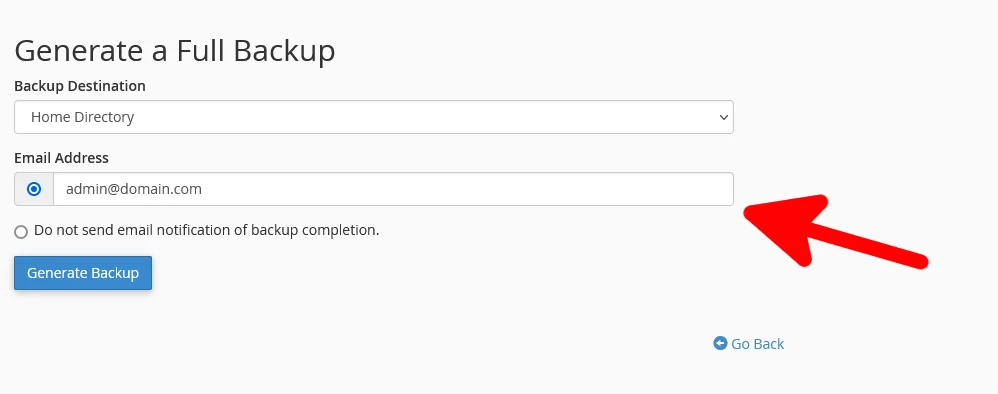
It’s up to you to decide how you’re going to save the backup file, as well. The Backup Destination drop-down menu gives you four options:
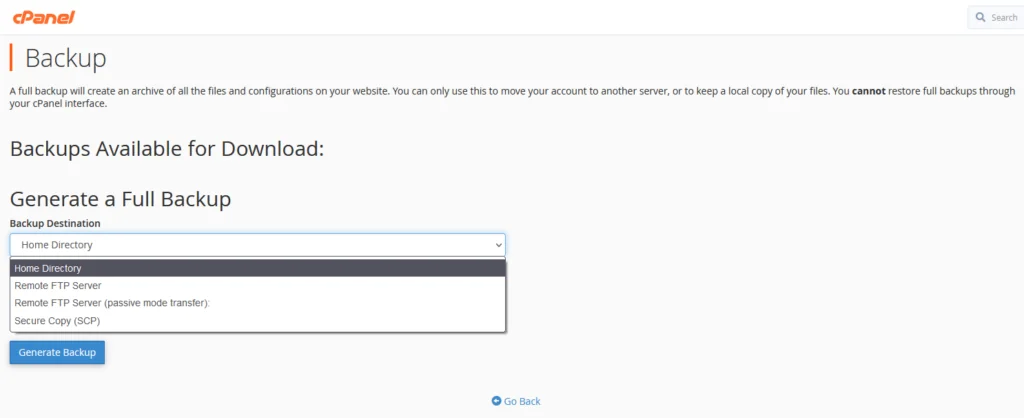
- Home Directory
If you choose this option, the backup will be stored on your hosting account, alongside the rest of your website files. Keeping your backup in the home directory may not be the best option. It will take up disk space, and in the event of a breach, you could end up losing access to it.
That’s why cPanel gives you the option of downloading your backups to a local machine through the Backups Available for Download section.
- Remote FTP Server
You can use the File Transfer Protocol to transfer your backup to a remote server. By saving it in a remote destination, you can ensure that a potential breach of your hosting account won’t compromise the backup’s integrity.
The only thing you need to do is enter the following information:
- Remote Server – the remote server’s IP
- Remote User – the username of the FTP account you want to use on the remote server
- Remote Password – the FTP account’s password
- Port – the port the remote server will be listening to (the default FTP port is 21)
- Remote Dir – the folder where you’ll store your backup (e.g., home/user/backup/)

- Remote FTP Server (passive mode transfer)
If you choose this option, you will use the File Transfer Protocol in passive mode, which could be a workaround for some firewall problems on the remote server. The information you need to enter is the same.
- Secure Copy (SCP)
Instead of FTP, you can also use the Secure Copy Protocol to send your backup securely to your remote server. Once again, you need the remote server’s IP, your SCP login details, the listening port, and the remote folder.
Once you’re ready with the configuration, click Generate Backup to initiate the process.
Restoring a Full Account Backup in cPanel
If you have a partial backup of your website files, MySQL databases, or email forwarders or filters, you can easily restore them through the cPanel interface. However, restoring a full account backup is not possible from there.
cPanel accounts can only be restored through WHM – the server administration platform that serves as cPanel’s backend. If you use a VPS or a dedicated server, you have access to WHM and restore the account yourself via the Restore a Full Backup menu. If you’re on a shared plan, you’ll need to contact your host’s support team and ask them for assistance.