You can access your DNS setting in your Scala Hosting SPanel account. If you’re looking to make any of these changes or view their settings, then your DNS settings area is the right place to look.
Here you can do the following things :
- Manage DNS
- Transfer a domain to a different account
- Transfer a domain away from Scala Hosting
- Get your domain’s authorization code
- Delete a domain
I’ll give you a quick guide on how to view these settings and change them if you want to do so.
Quick Guide to View and Change Your DNS Settings
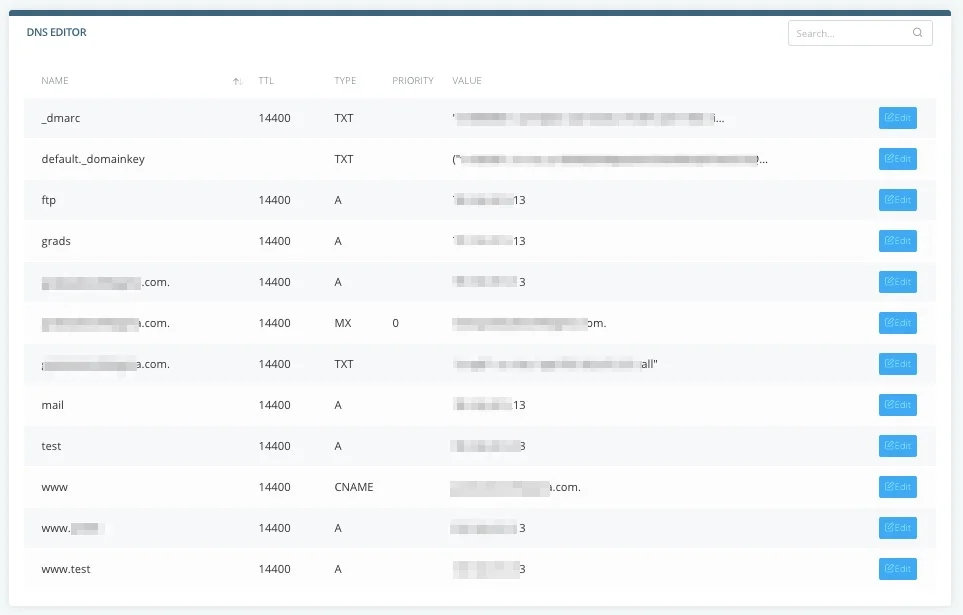
You’ll view your DNS settings in your DNS zone editor. In there, you can add, delete, or adjust your DNS records in the DNS zone of any of your domains.
Keep in mind also that :
- The A Record points your domain or subdomain to a specific IP address.
- Your CNAME record points your subdomain to the IP address of another domain or subdomain.
- MX records direct the incoming email messages to your domain name to an email server
- Your TXT record is a multipurpose record that you can use to associate an arbitrary text with your domain or subdomain. For example, it can be used for human-readable information about a server, data center, network, or other account-based information.
Keep in mind that the lower the priority of the MX record the higher the priority of the mail server that your incoming message will be delivered to. So the MX record with the lowest value is the one with the highest priority.
Let’s explore how you’d see these records right in your DNS settings.
Step 1: Sign into SPanel’s User Interface
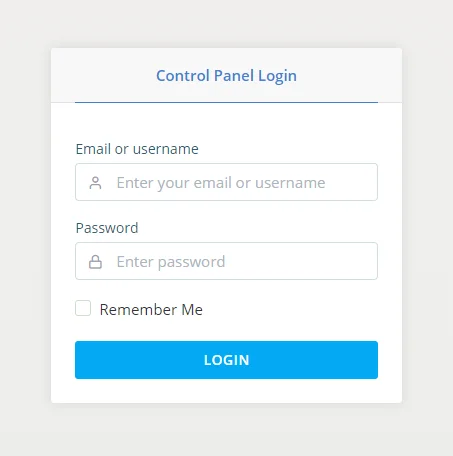
The first step is to log into your SPanel’s User Interface. The default login URL is yourdomain.com/spanel/


Enter your account’s username and password and click Login.
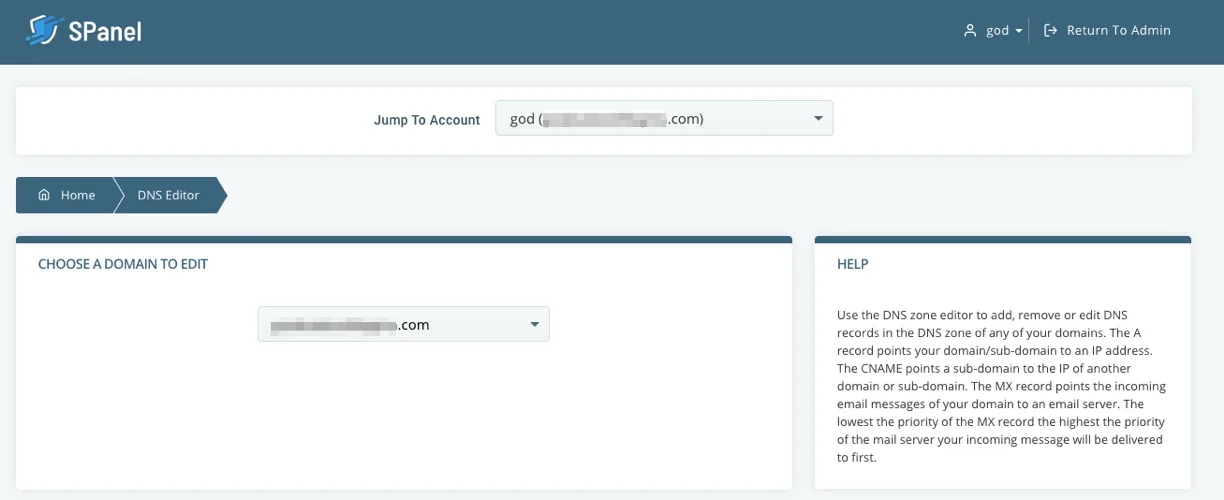
Step 2: Open the DNS Editor
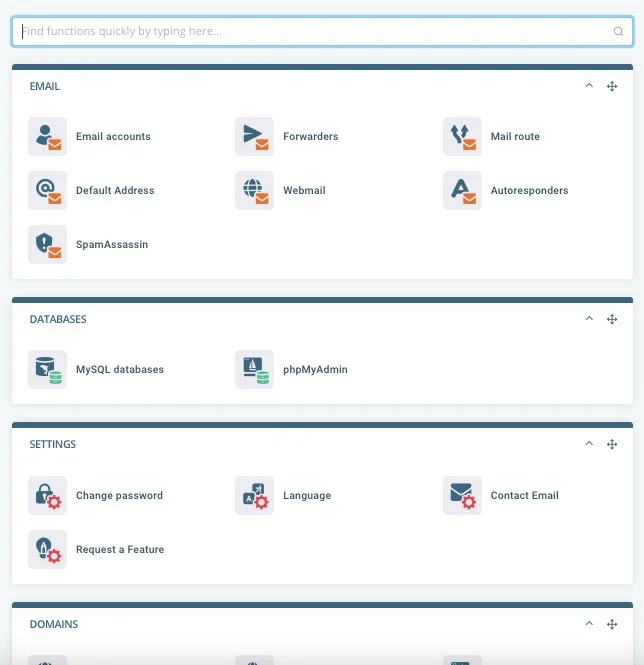
Your domain’s DNS settings are available in SPanel’s DNS editor. It’s available under the Domains section on SPanel’s homepage, and you can also use the search box to find it more quickly.


You’ll access the editor for that account.

There you can view and change the records as you deem fit. You can choose a record, name it, change the time to live (TTL), and alter the value as needed.
And then click, Add record.

When you scroll down, you’ll be able to view all the DNS settings you’ve made over time.

That’s it. You can now view your DNS settings, easily.
Need Support?
If you need help with anything specific, you can reach out to our support team.
